If you’re looking for help to set up your first Quickpage or you need a short refresher on where things are, this is going to be the best video for you.
In this video and post, we’re going to do a walkthrough of how to create a video message with Quickpage. There are plenty of different features that we can dive into in more detail in future videos, but you can look at this video as a high-level overview of the different parts of a Quickpage so that you can get started fast.
We’re going to cover three things:
I. Different elements that you’ll find on the page.
II. How to create a how to create a video message with Quickpage.
III. How to preview and share your Quickpage.
I. Different elements of a Quickpage
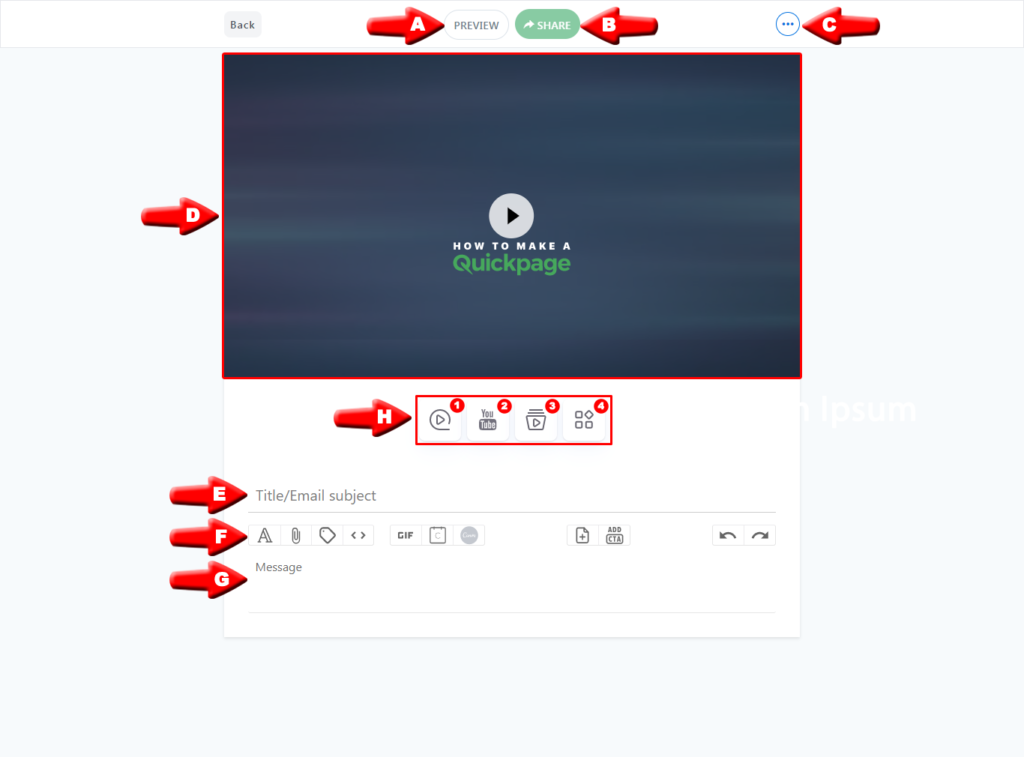
A. Preview Button
B. Share Button
C. Three Dots Button (Settings)
D. Preview Window
E. Title and Subject Line
F. Toolbar for editing
G. Body
H. Featured Content Buttons
1. Record and Upload Button
a. Video record
NOTE: Industry specific accounts will see additional icons in their page builder. Automotive users will see a Vehicle icon to add inventory to the page. Real estate users will see a House icon where they can add MLS listings to the page.
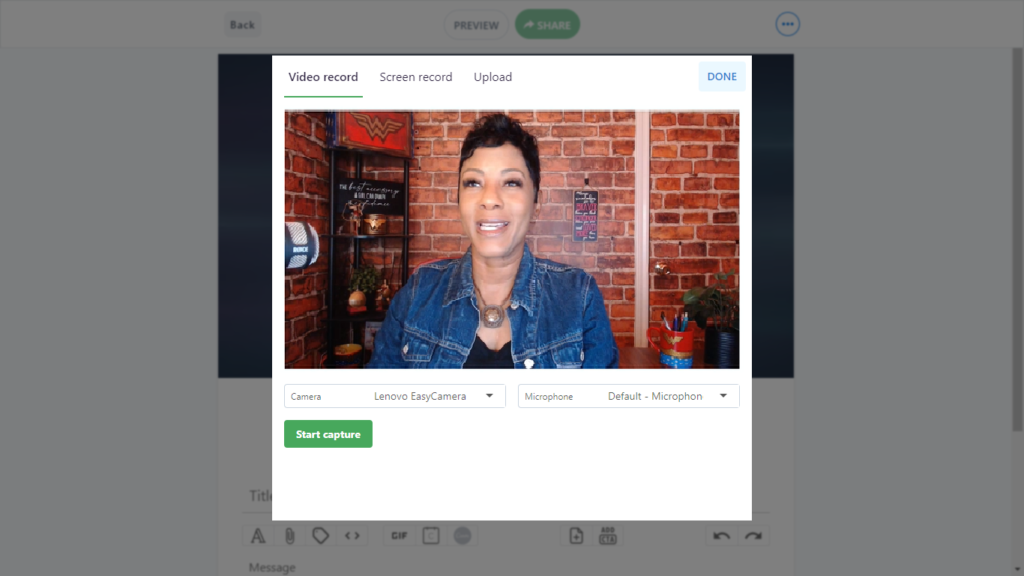
b. Screen record
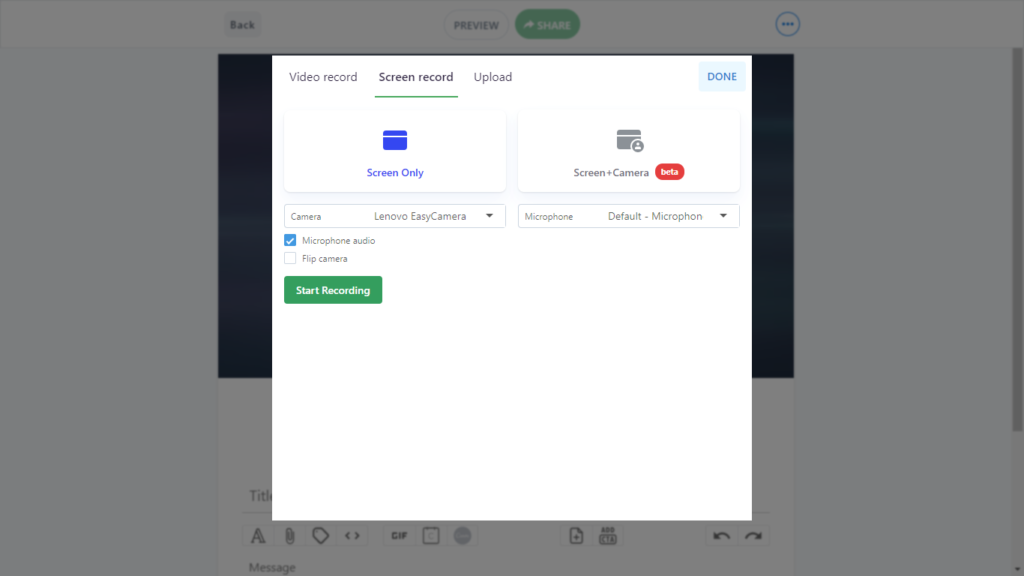
c. Upload
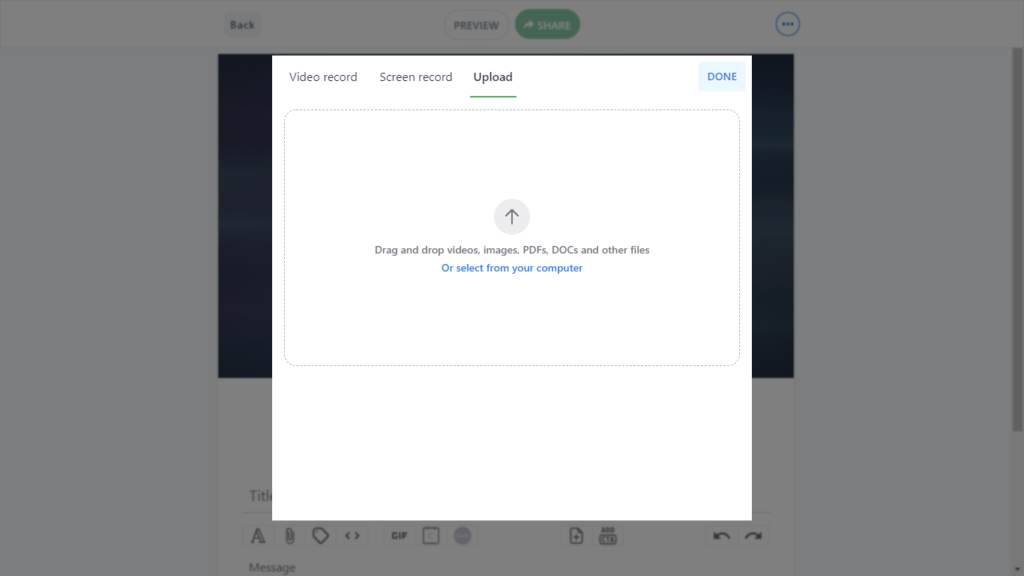
2. YouTube
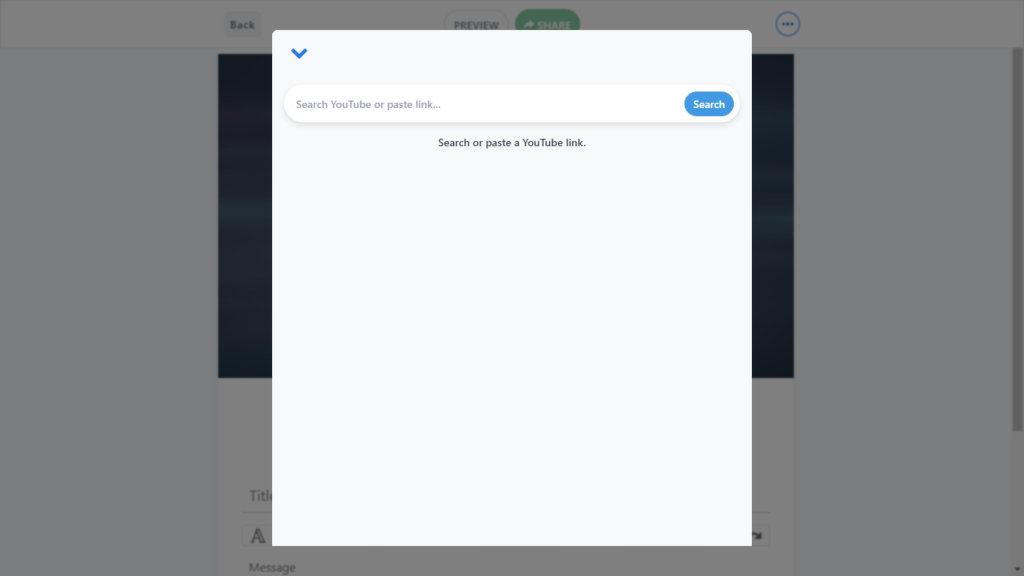
3. Quickpage Library
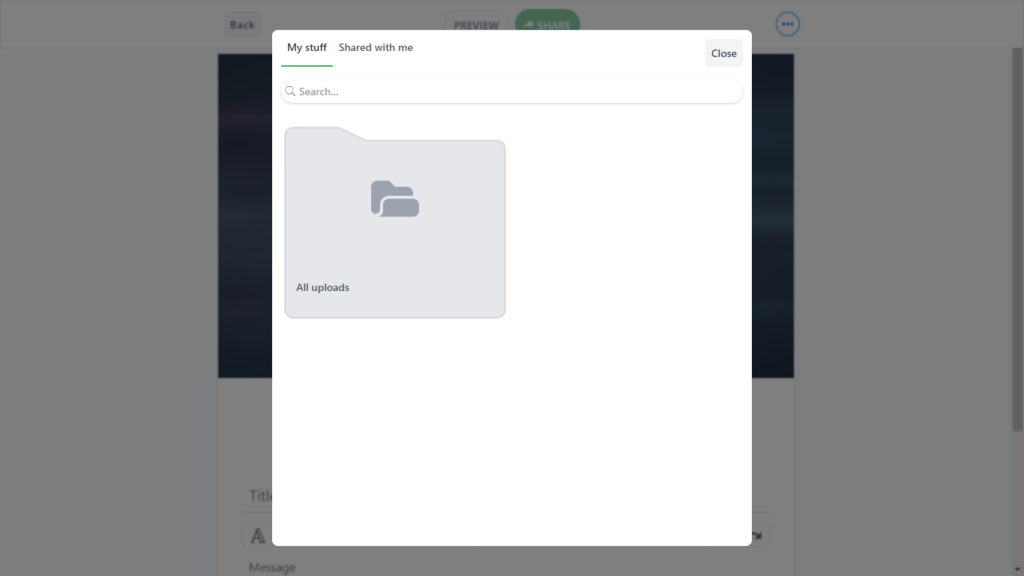
4. More Options
a. Add URL
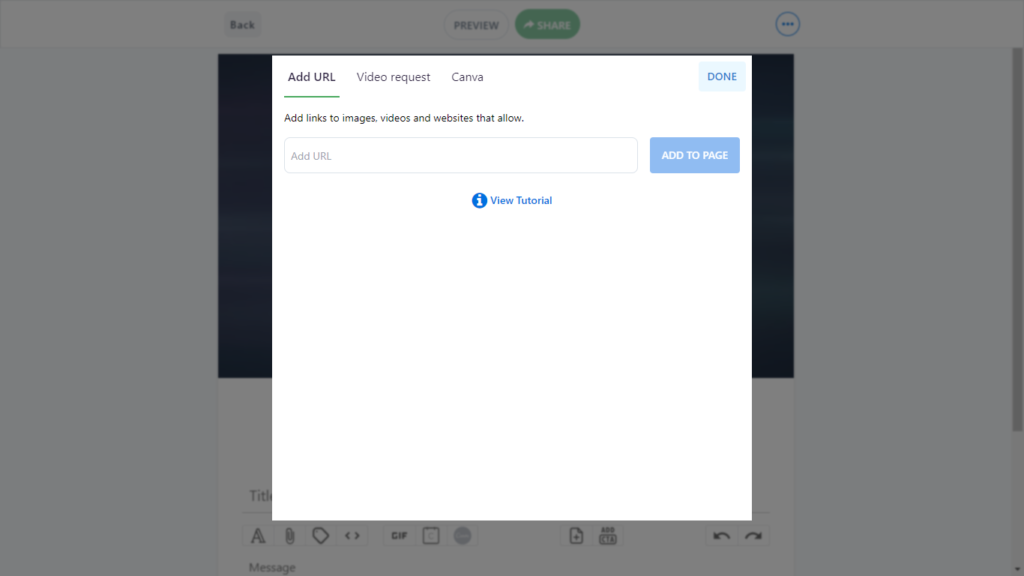
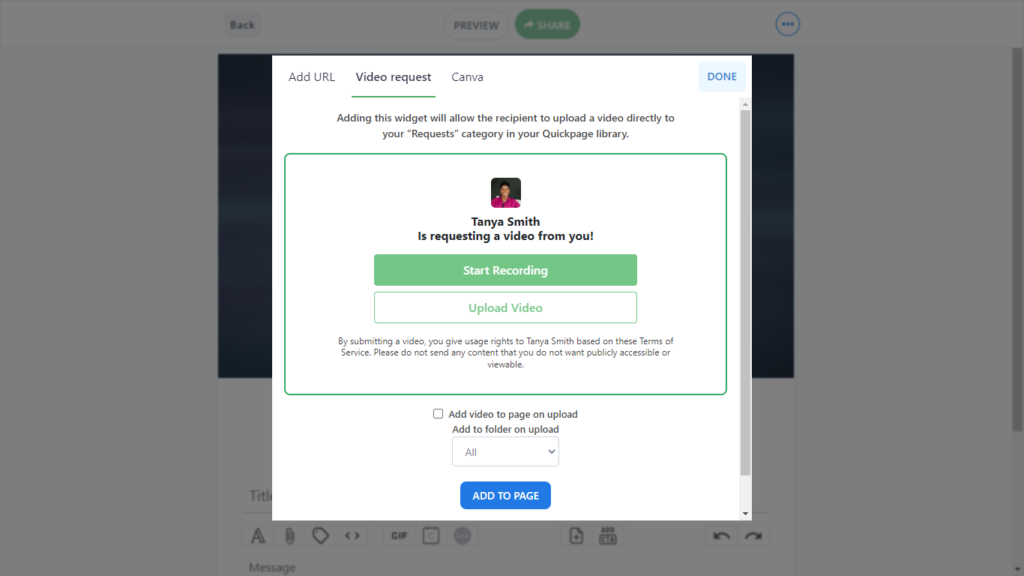
b. Video Requests
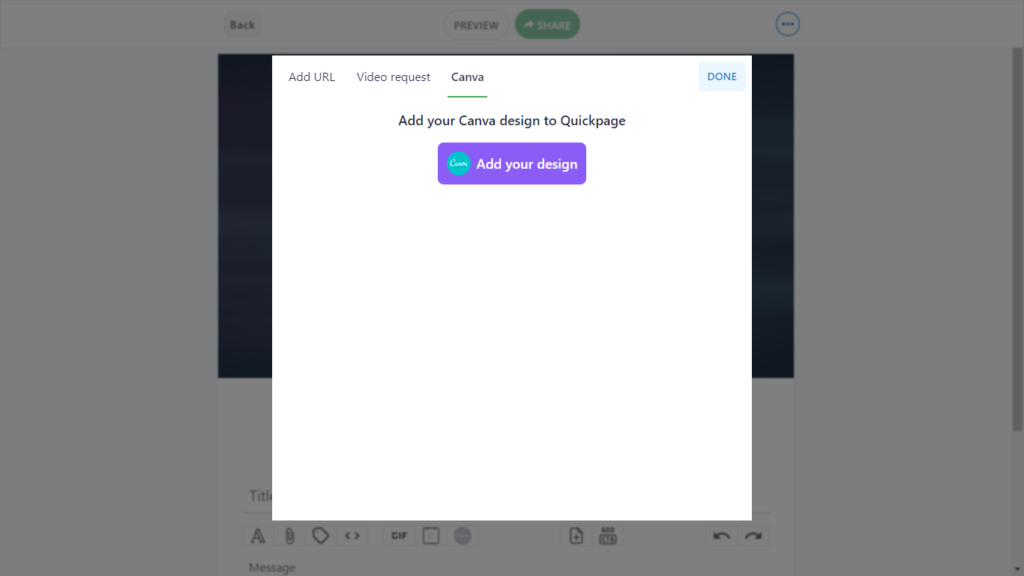
c. Canva
II. How to create a video message with Quickpage
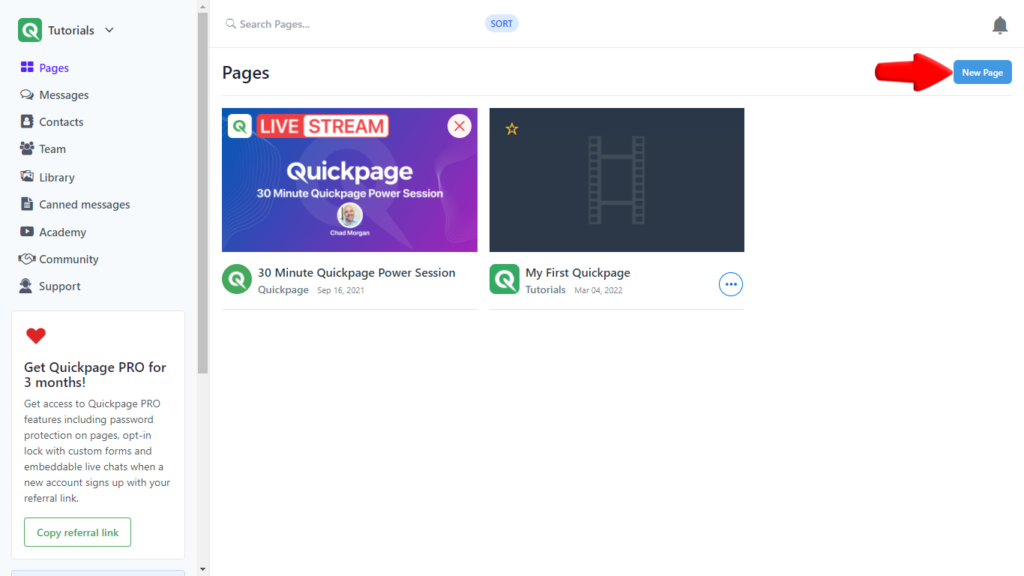
1. Create a new page.
2. Add any type of featured content you like using the featured content buttons.
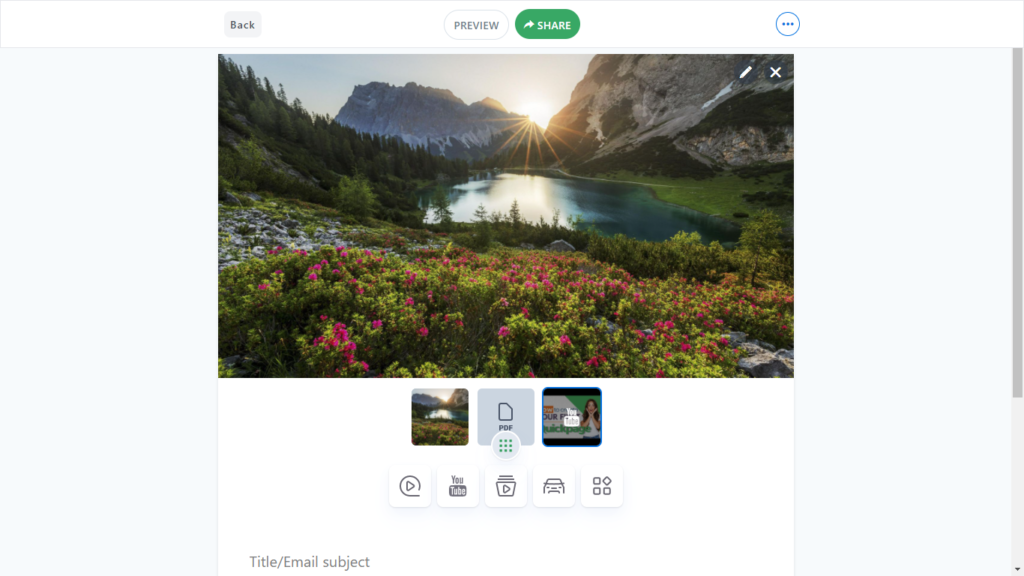
Content that you can add:
a. Recorded video
b. Screen record
c. Documents (Word document, PDF, etc.)
d. Image
e. YouTube Video
f. Website link/URL
g. Video Request
h. Canva
PLUS: Auto inventory and MLS listings on industry specific dashboards*
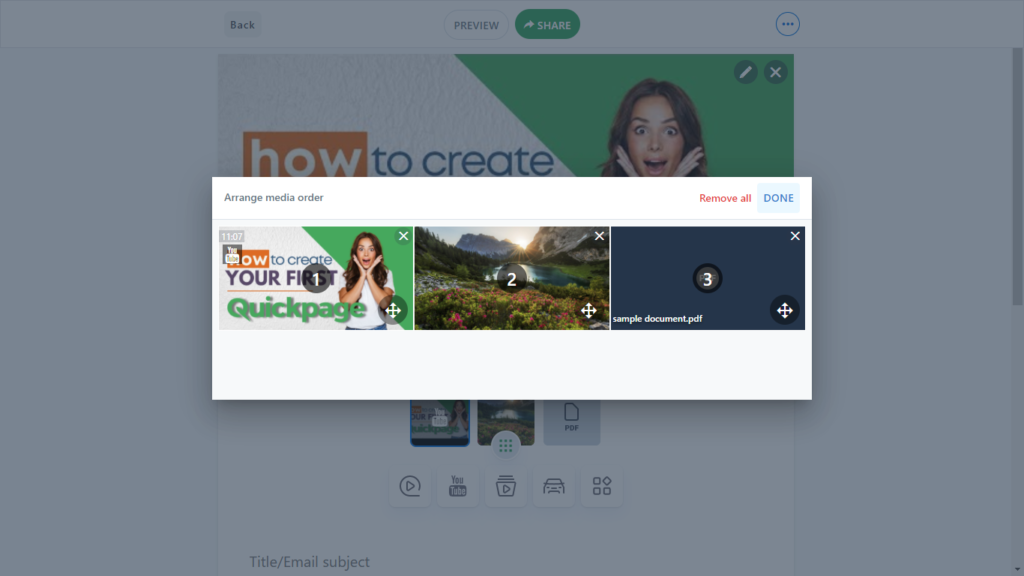
3. Arrange the media which will be the first thing that your viewers will see.
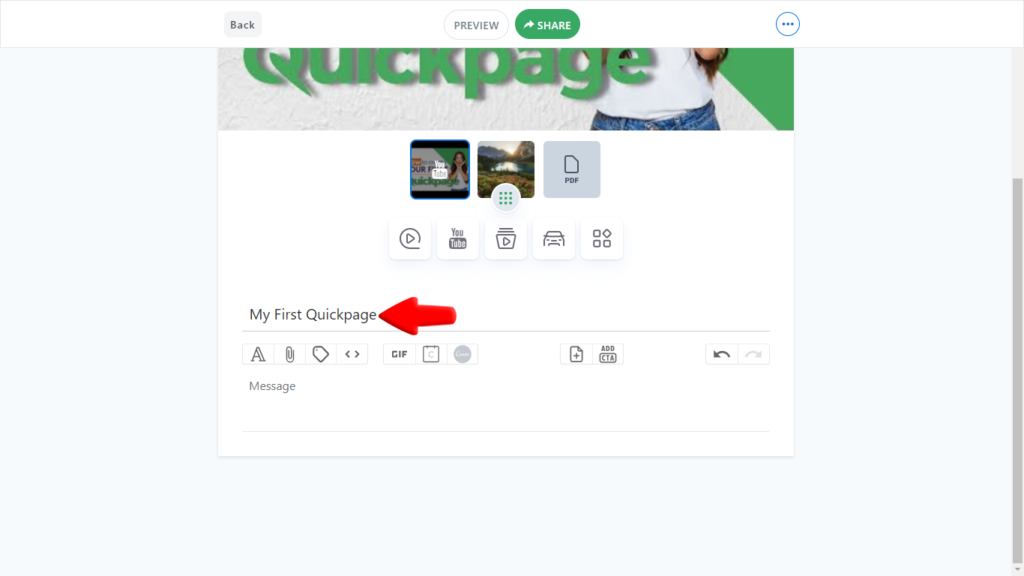
4. Add a title for the page and it should reflect what it is you’re sharing and be enticing. This is also your email subject line.
5. Populate the body with the content of your message.
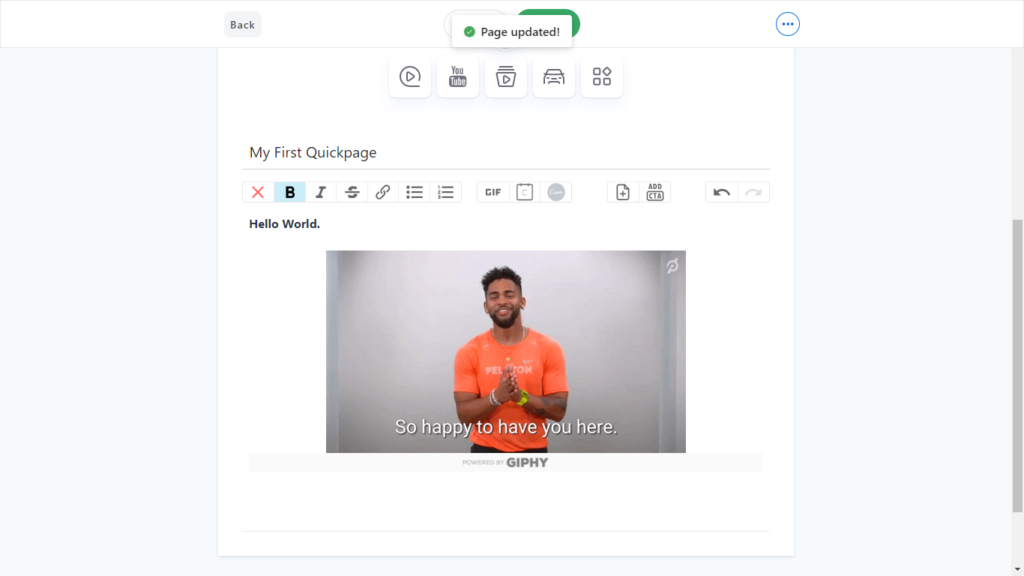
Content that you can add:
a. Text
b. GIFs
c. Calendar link using Calendly
d. Canva design
e. Canned message
f. Call-to-action button
III. How to preview and share your video message with Quickpage
Now when you’re ready to share, you’ll simply click on the share button and you can choose on a number of different options.
1.Sharing options:
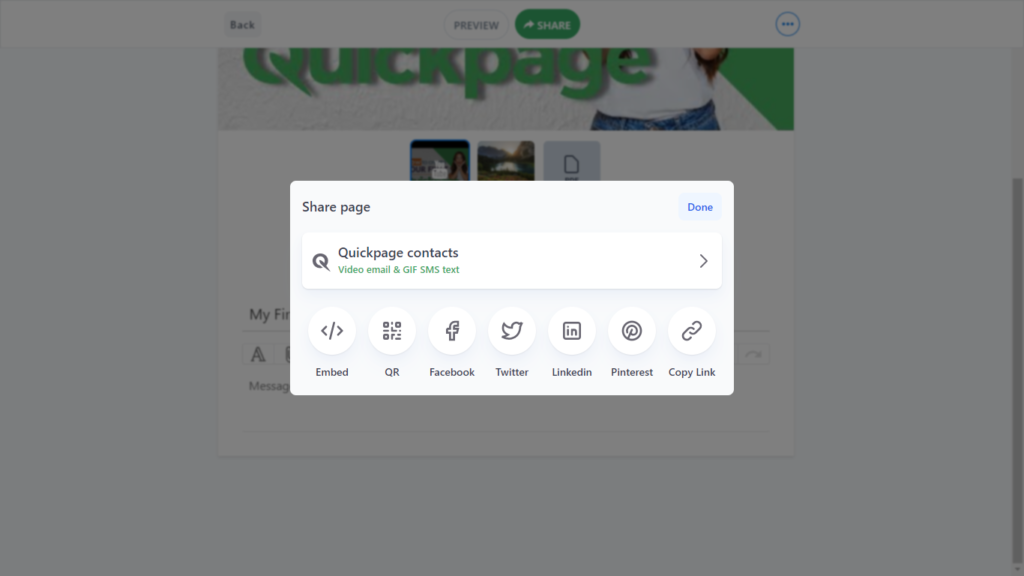
a. Quickpage contacts
b. Embed
c. QR Code
d. Facebook
e. Twitter
f. LinkedIn
g. Pinterest
h. Copy Link
That’s it for this quick video tutorial. Now you know how to create your own video message with Quickpage. If you’ve got any questions or you want to know more, feel free to watch our other videos about the Quickpage app.
